


As winter approaches, it's essential to prepare your sprayer for the colder months ahead. Properly rinsing and winterizing your sprayer not only extends its lifespan but also ensures it will be ready for use when spring arrives. In this guide, we'll walk you through the necessary steps to rinse out your sprayer, protect key components, and prevent freeze damage.
Step-by-Step of How to Properly Winterize a Spray Unit
In order to begin you need to ensure that your entire system has been evacuated of the solution(s) you were spraying with the unit. That means you need to evacuate the pump housing, hoses, strainers, tank(s), spray wands, etc. Start at the tank and run through the entire plumbing system - no component of the system that comes in contact with liquid should be left out of this process. If something is neglected, odds are good that you will have issues when you go to start up next season. Let's avoid that at all costs. Here's how....
Rinsing Your Sprayer
Any system should be thoroughly flushed with clean water. Industry standards recommend a triple rinse. Add one-half tank of fresh water and flush all tanks, lines, booms, nozzles, wands, etc. for no less than fifteen minutes. Do this using a combination of agitation and spraying. Remember that rinsates (the solution you create while flushing your system) do contain residuals from your system. Therefore, any pesticides, herbicides, fungicides, etc. that you were spraying will be flushed from the system out of your orifice(s). Do not allow rinsates to flow into streams, rivers, ponds, lakes, floor drains, sewers, or sinks.
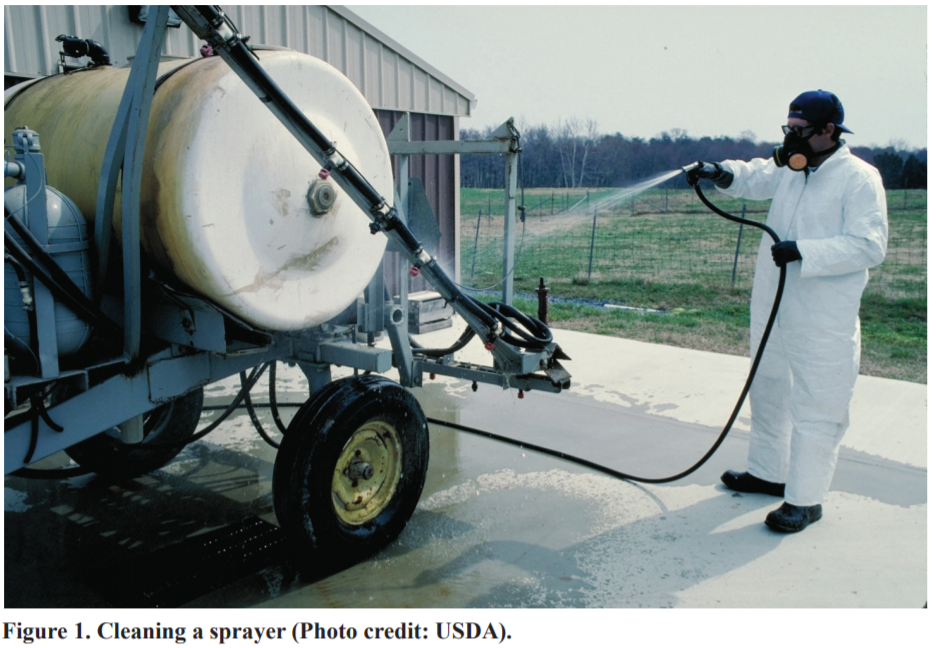
It's best practice to use containment pads such as these to collect rinsates and then apply them to labeled sites at or below labeled rates. If possible, consider rinsing the system at the application site. Furthermore, the product label should specify best rinse practices - always consult the product label. Lastly, proper protective clothing should be worn to avoid chemical contact with any exposed skin.
Remember, many of the chemicals out there are designed to kill living organisms - that means it's not good to get it into your bloodstream. If you do get any product on exposed skin make sure to wash the contaminated area with soap and water immediately, for no less than 15 minutes.
Flush Out Sprayer Components
This is also a good time to clean strainers of any debris that was picked up during the past season. By performing this task you will help ensure that you don't starve your pump and blow out seals when you start up next season. Here is another post on pump cavitation to further explain how detrimental this can be. Sloppy clean-up practices are a main cause of equipment failure or malfunctions. You're here to prevent that and avoid expensive downtime.
You can create a cleaning solution by doing the following:
- Fill the tank with fresh water and the recommended cleaning solutions or tank cleaner.
- Agitate this solution for no less than 15 minutes.
- Add one of the following to 50 gallons of fresh water.
- Two quarts of household ammonia (let sit in sprayer overnight for herbicides such as 2,4-D or Dicamba. It's recommended to consult your label for recommended cleaning agents*)
- Or add four pounds of trisodium phosphate cleaner detergent. (It's recommended to consult your label for recommended cleaning agents*)
- Operate spray booms or wands long enough to ensure all lines and orifices are filled with the cleaning solution.
- Let the solution stand in the system for no less than three hours.
- Agitate and spray the solution onto suitable areas for rinsate solution.
- Add more fresh water and rinse the system again by using a combination of agitation and spraying.
- Remove strainers, screens, regulators, etc. and clean in a separate bucket of your cleaning solution.
- Rinse and flush the system again with fresh water.
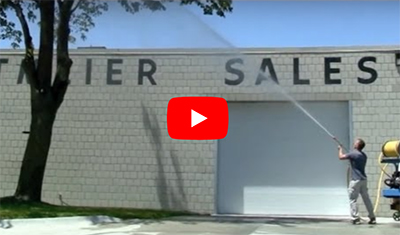
Don't neglect the fact that, any product left in the plumbing system, that is allowed to dry, is much more difficult to remove and will eventually build up enough to plug lines and orifices. Plugged lines and orifices not only decrease the overall efficiency of your plumbing system, but will bring about a slough of other headaches. Always wash down the external portion of the spray unit at the wash site, as well. This helps to remove any external residue that the unit collected via spills or drift.
Making Sprayer & Sprayer Pump Repairs
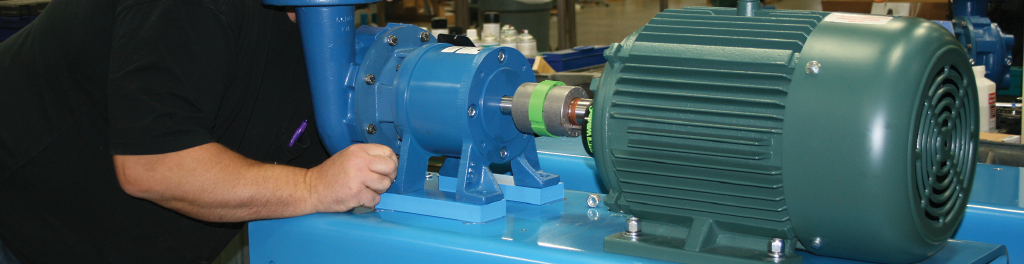
Next, let's move on to the pump itself. Remove the pump from the drive unit - generally on most skid sprayers this will be a gas engine. It's always best practice to take the pump completely apart BEFORE you order repair parts. For instance, you may order a complete overhaul kit and find that you really only needed to replace some gaskets. We strongly recommend to get the pump opened up and thoroughly inspect it.
Once you have completed this and have drawn up your parts list - only then should you order repair components. We have an extensive parts breakdown file, to help you identify the correct parts you need. In order to use this resource you need to know the manufacturer, pump type, and model number. Click here for access to our Parts Resources. For additional resource videos see below.
Hypro 7560 roller pump Repair Video:
Hypro D403/AR403 Pump Repair Video:
Prep Sprayer For Storage
If you absolutely need to store your unit outdoors over the winter make sure to remove all hose and any polymer (plastic fittings, connections, etc.) Some companies recommend adding lightweight oil such as diesel fuel or kerosene to a system for off-season storage. We don't recommend this as oil-based products don't like EPDM elastomers. For this reason, we suggest using a 50/50 mix of RV antifreeze and water. We recommend this treatment for your entire plumbing system - whether you store your unit indoors or outdoors.
The reason we recommend this treatment is based on experience. We have had customers store units in temperature-controlled environments, during the off-season, only to have their heat source fail. This resulted in the pump housing cracking due to their own negligence. If they had charged the system with a solution that would not freeze they could have avoided an expensive surprise come spring.
Here is another post on chemical compatibility and how it's worthwhile to perform due diligence. Run this solution throughout the entire plumbing system for a minute or two in order to ensure that your total system is winterized and safe from freezing.
It's also recommended to remove all gauges and store them indoors if possible. Change out your oil if you are running a diaphragm pump unit - this ensures you are ready to rock-n-roll come go-time next spring. Remember, the main reason for failure or malfunction in any spray system is neglect and improper maintenance. Lastly, make sure to replace air/oil filters on your gas engine. Don't forget to add a fuel stabilizer treatment to your engine and run it for a few minutes to ensure the treatment reaches all internals of the engine.
Before You Go
If you can ensure following these steps in your post-season shutdown process we know you will be in much better shape come next season. All of your equipment should be good to go and ready when you - and more importantly - your customers need it to be. Thanks for stopping by and have a great off-season.
Sources:
- Some of the information in this post was found through The University of Nebraska-Lincoln the Cleaning Pesticide Application Equipment publication from August 2013.
- Hypro - Pentair