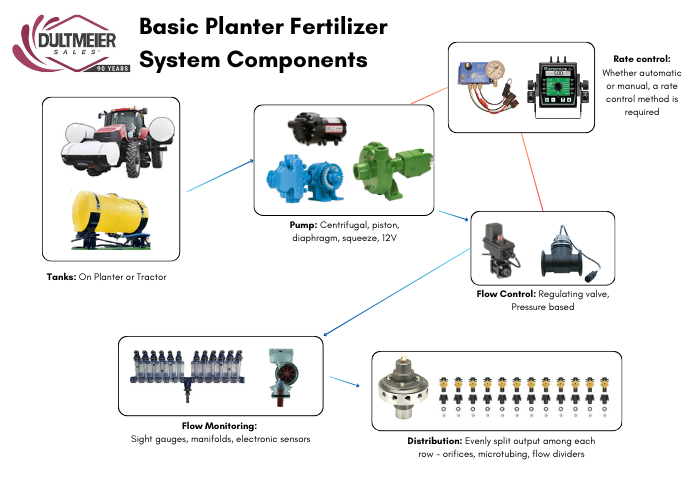
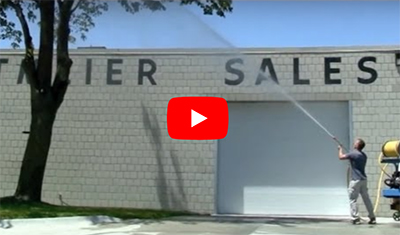
Reducing loading time is possible with the right sprayer tender trailer setup. Every aspect of your system can affect your efficiency. From the transfer pump, chemical inductor, mixing systems, and even your hoses and fittings. At Dultmeier Sales, we have been helping to set up tender trailers for decades and today we will discuss how to select these items to create the ultimate tender trailer for your operation.
Main Components of a Sprayer Tender Trailer
Whether it is a truck, flatbed, or bumper hitch trailer, the basic components used on a sprayer trailer consist of the following (click on each item to jump to that section in this article):
While the primary components are similar they are not all created equal. Each component comes with a range of options, making it essential to evaluate their features carefully. Let’s take a closer look at each component, explore their key attributes, and discuss how they can affect the overall function of your setup.
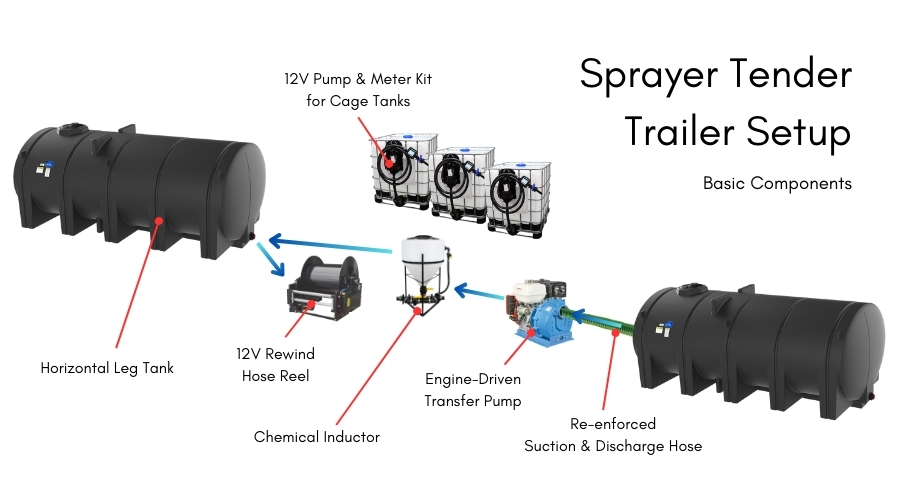
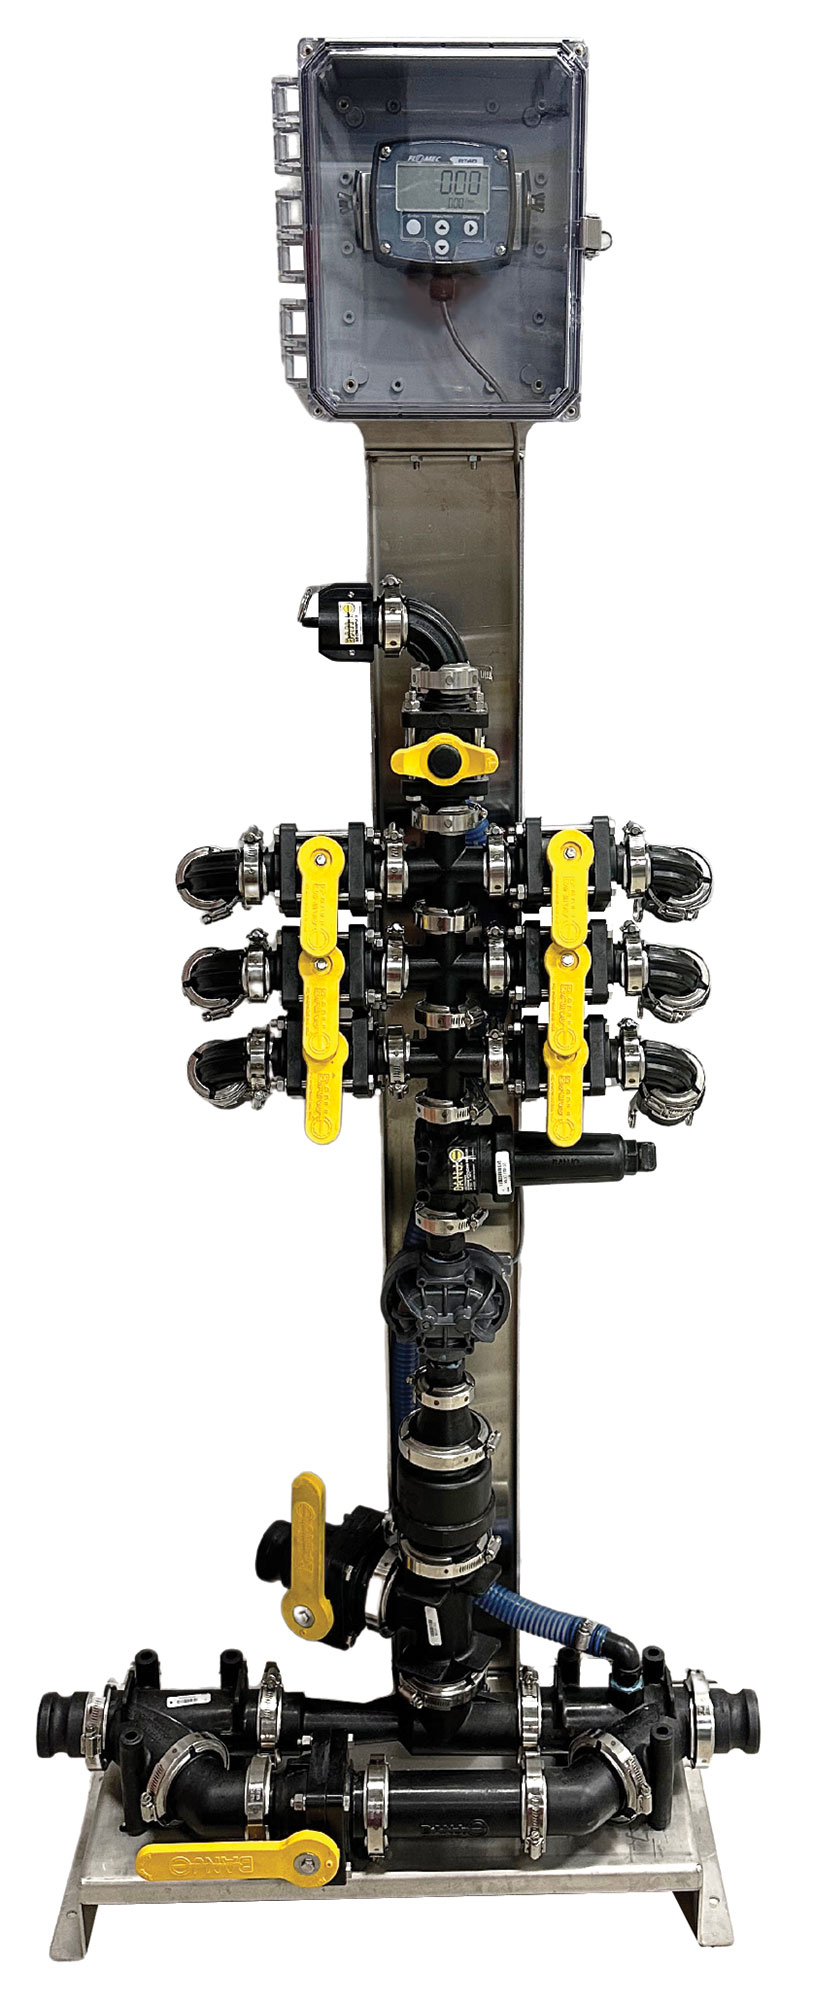
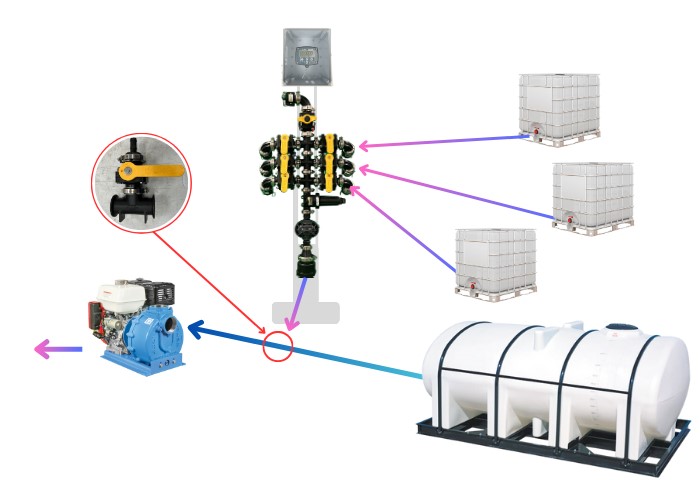
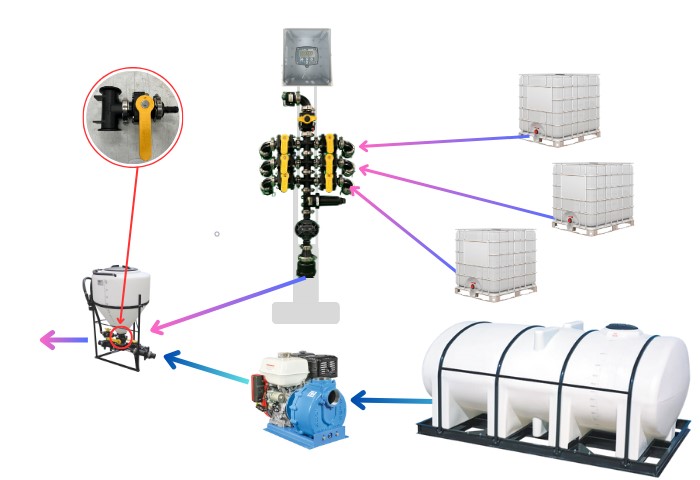
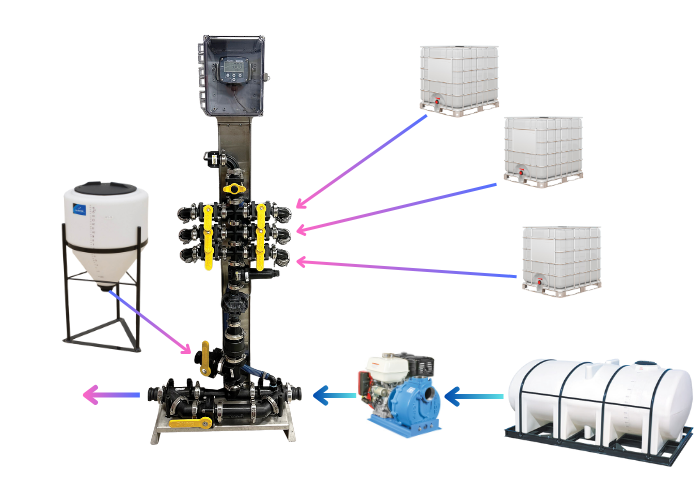
Sprayer Tender Trailer Plumbing Diagram
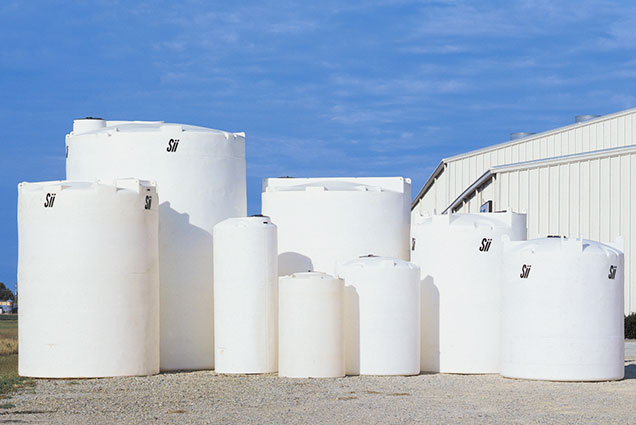
Tanks for Sprayer Trailer
The first individual component we should cover is the tanks. After all, without them, a nurse trailer is pretty useless. The job of your tank is simple, but there are several aspects to consider. Tank design can have a rather large impact on the function and efficiency of your setup so it is worth your time to consider these as you select your tank.
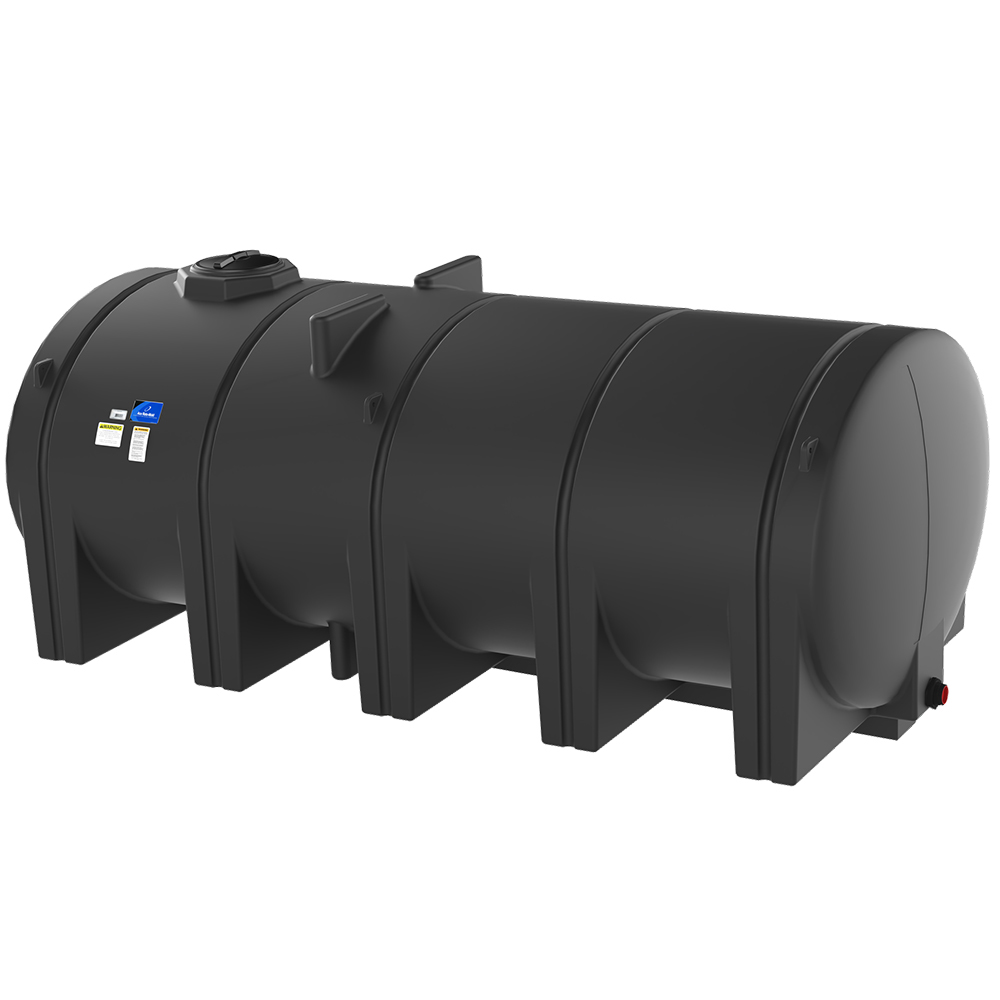
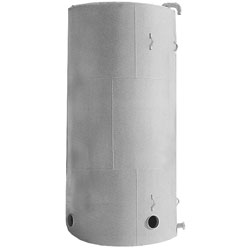
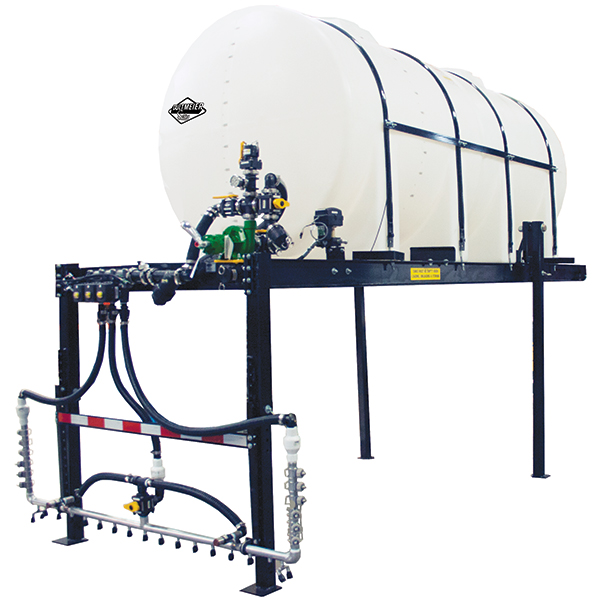
Horizontal Leg Tank
Size & Shape
Tank size is the primary consideration. You will need to consider what your trailer or truck can handle as well as the volume of water you will need on a daily basis. The amount of water you need depends on several factors that will be unique to your situation.
For example, if you need 1,000 gallons of water to spray 80 acres, you can calculate the total water needed by how many total acres you expect to spray in a day or how many acres you need to spray before refilling. To spray 240 acres without having to return the tender trailer to refill, you would need a tank that holds at least 3,000 gallons of fresh water.
Horizontal leg tanks are designed to fit on flatbed trailers and trucks. These are ideal for nurse trailers because they are low-profile, and contain baffling both of which make them safer for over the road than other tank styles. They come in sizes ranging from around 1,000 gallons up to nearly 5,000 so there are plenty of options.
The keys to consider are how the tank drains and the outlet size. There are flat bottom versions and tanks with a sump to provide a more complete drain out. The more complete drainout is an advantage over flat bottom tanks however they typically require a skid which makes them more expensive.
When you are looking for tanks you can always look at the tank drawing that shows the slope, outlet sizes, and other tank dimensions. This way you can ensure it fits your trailer and has the features you want. Contact us if you need help accessing the drawings for a specific tank.
Tank Material
Most sprayer tender tanks are made of polyethylene, a durable, lightweight, and chemical-resistant material. The strength of these tanks is primarily determined by their Specific Gravity (SG) rating, which indicates the tank's ability to hold liquids of varying densities.
At Dultmeier Sales we carry Ace Roto Mold, Snyder, and Norwesco poly tanks. These tanks are typically all rated to handle liquids weighing up to 14 lb per gallon. This will cover most fertilizers and obviously water which is much lighter. We also can get heavy-duty tanks which are rated for much heavier liquids if necessary.
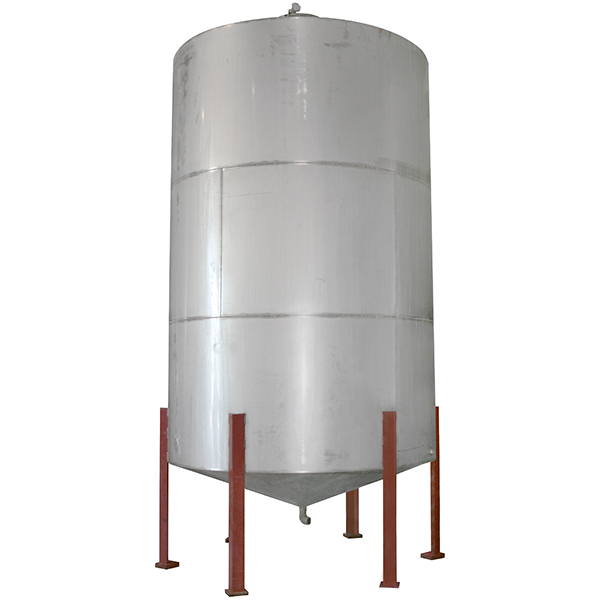
Stainless Steel Tanks are more expensive but highly durable, easy to clean, less risk of cross-contamination. Resistant to UV degradation, punctures, and chemical wear, stainless steel tanks often last decades with proper maintenance.
Algae Prevention
One of the major concerns people have with their nurse trailer tanks is the growth of algae inside the tank. To prevent this you must eliminate any sunlight from getting into the tank. While poly tanks do have UV inhibitors, a black-colored tank is the only way to eliminate all sunlight. It is important to note, however, that you cannot see the liquid level in a black tank. So if you install a clear site gauge tube, sunlight will enter through this clear tube and algae may grow.
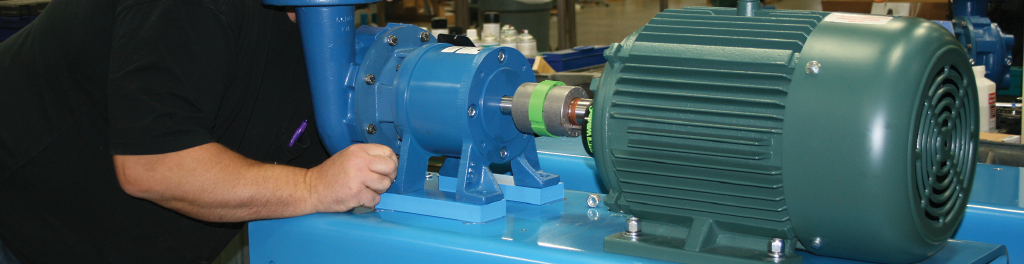
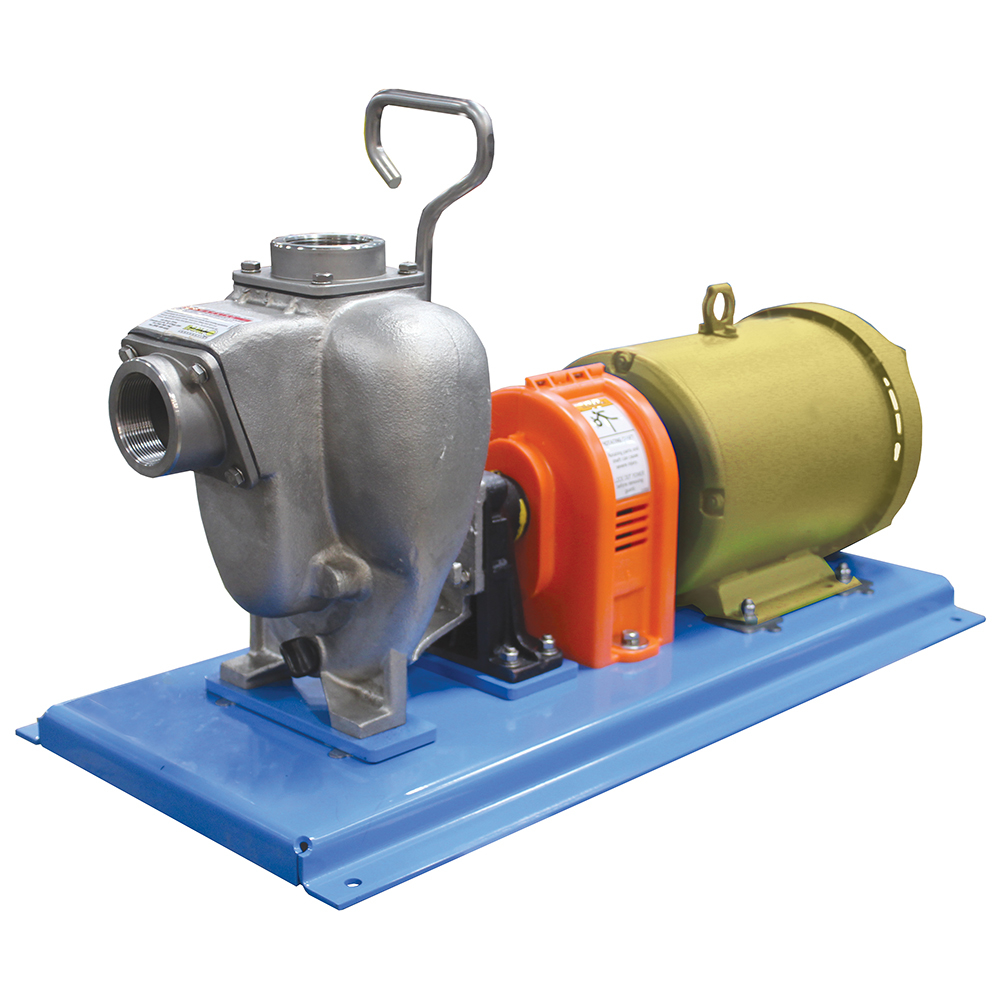
Tender Trailer Pump Selection
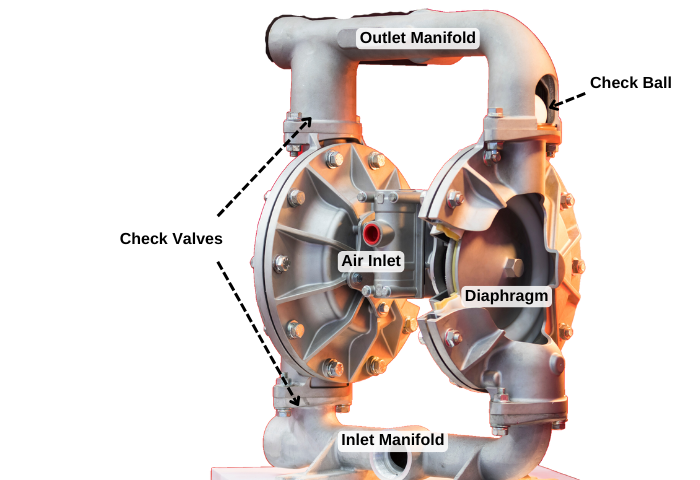
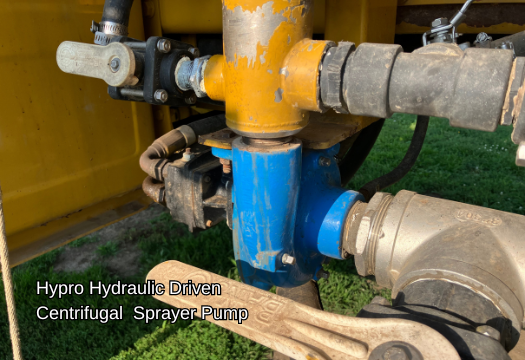
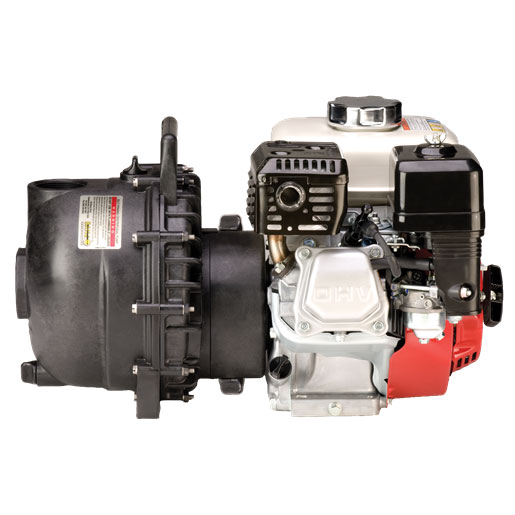
Typically, a sprayer trailer will feature at least one centrifugal transfer pump. A centrifugal pump is king when it comes to moving high volumes of liquid. When it comes to agricultural tender setups, two and three-inch engine-driven pumps offer the perfect combination of flow rate, affordability, and flexibility.
Polypropylene body pumps work well, they don’t rust and are compatible with several chemicals/fertilizers. A poly pump will be the less expensive but if you desire something that is more durable, cast-iron pumps are a great option. They are subject to rust, but they don’t break or crack as easily from the stress put on the pump. Think about the weight of your hoses or handling the hose when you move it around to fill your sprayer.
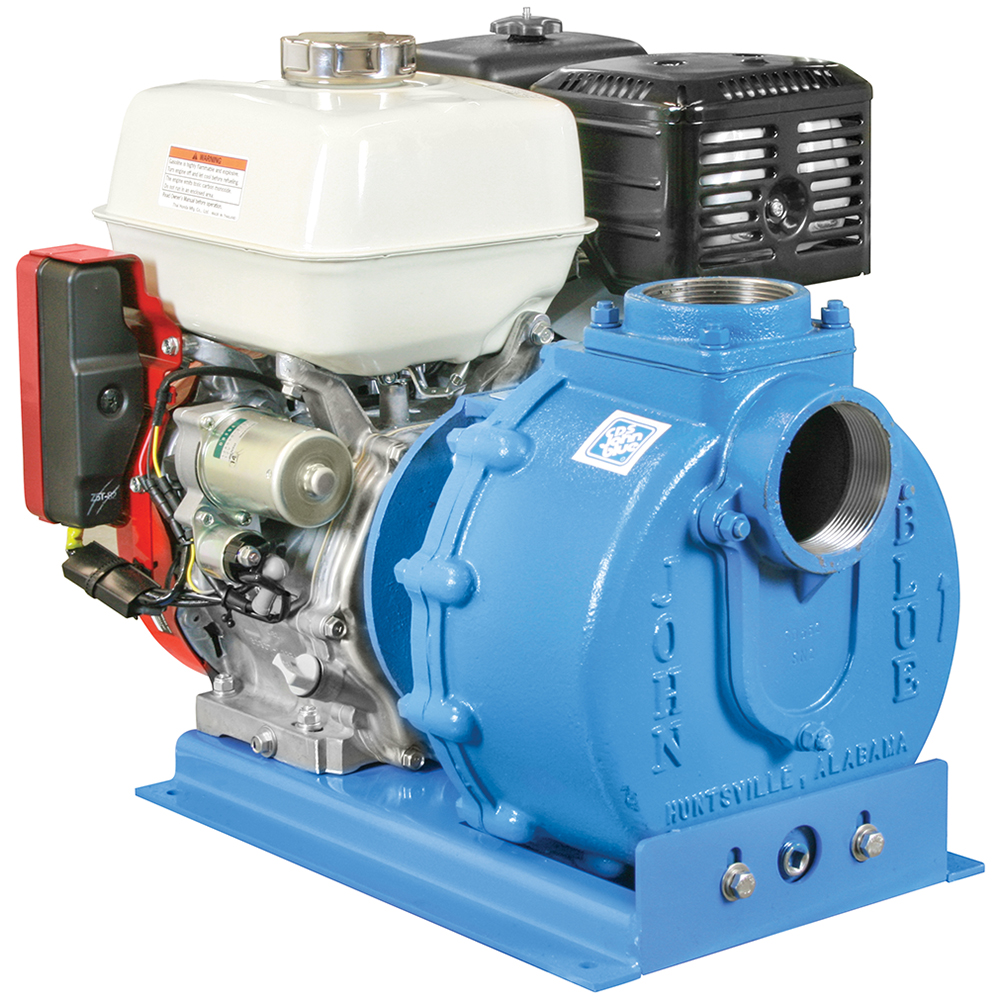
John Blue 3-Inch Pump with Honda Engine
Pump Features That Make Your Setup More Convenient
In addition to the material, there are other important pump features that will make your life a lot easier. First, an electric start gas engine lets you start the pump by turning a key/switch. These cost more but they will save your shoulder if you are starting your pump multiple times a day.
A wet seal or lubricated seal on a pump will protect the mechanical shaft seal if the pump is run dry, meaning it is operated with no liquid in it. Running a pump dry can lead to cavitation. This will damage the seal and result in a leak. It does not take long for this damage to occur. Pumps with wet seals keep things cool when the pump has no fluid passing through it. This way, if you empty a tank and do not shut the pump off right away, the pump will be safe from damage.
Manifold flanges are a style of connection instead of national pipe thread manifold flanges are held together, clamp and gasket, and are much easier to make changes to your setup or replace and isolate parts that you may need to replace. For more information see our Banjo Manifold flange guide.
Pump Flow Rate
One of the most important aspects of your pump is obviously the flow rate. When selecting the pump for your trailer you should look for a pump that is capable of delivering adequate flow but remember a centrifugal pump does not determine the flow by itself. Ultimately, the flow you can achieve is based on several aspects of the entire plumbing setup. In addition to the pump, the plumbing will determine the maximum flow you can achieve. This concept is explained in more detail in our centrifugal pump guide.
For help selecting a transfer pump, you can take a look at this detailed centrifugal pump selection guide. It focuses on fertilizer pumps, but the information is relevant for water and chemical transfer as well.
>View All Gas-Engine Pump Unit Options
Tender Trailer Plumbing
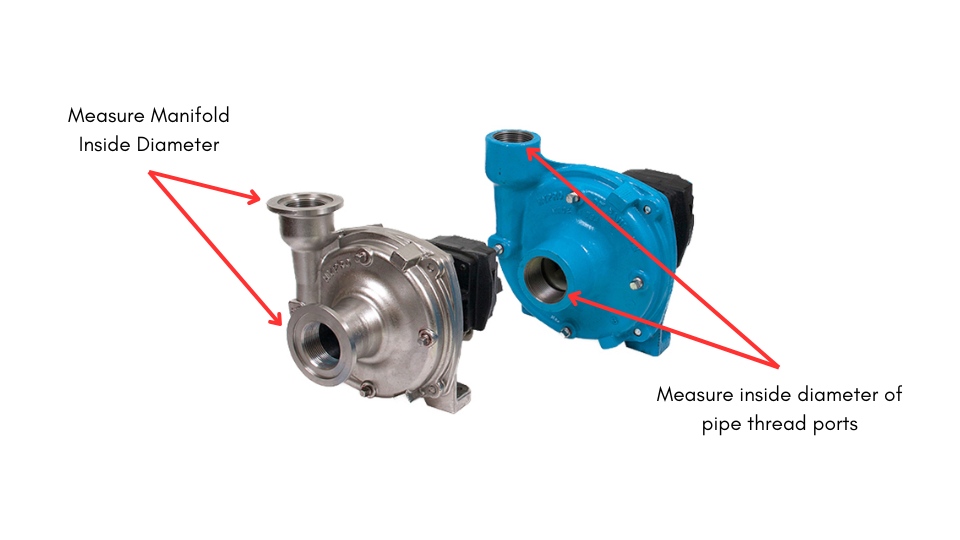
The size of your plumbing plays a crucial role in determining how quickly you can mix batches and load your sprayer. The plumbing size refers to the inside diameter (ID) of the fluid path (hose, strainers, pump ports, valves, etc.) For agricultural tender trailers, 2-inch and 3-inch plumbing are common options.
2-inch typically grants you a maximum flow rate of about 200 GPM while 3-inch plumbing can accommodate roughly 400 GPM. These numbers are estimates and depend on a lot of additional factors such as the pump type, horsepower, liquid, number of elbows, strainers, total length of hose, etc.
Consistency in Plumbing Size is Key
Maintaining a consistent fluid path throughout the system is key to maximizing your flow rate. This means paying attention to the inside diameter (you're going to get tired of that term but it is important) of all the plumbing components on the trailer. Including but not limited to the pump, hose, valves, fittings, and strainers.
Let's look at an example to see why this is so crucial. If you use a 2-inch pump, then you will want to use 2-inch hose. So far so good. But if your strainer has only 1.5-inch ports, the strainer becomes a bottleneck, restricting flow. This is true for valves. Even if your valve or strainer has a 2-inch pipe thread the actual fluid path may be smaller. So how do we avoid this?
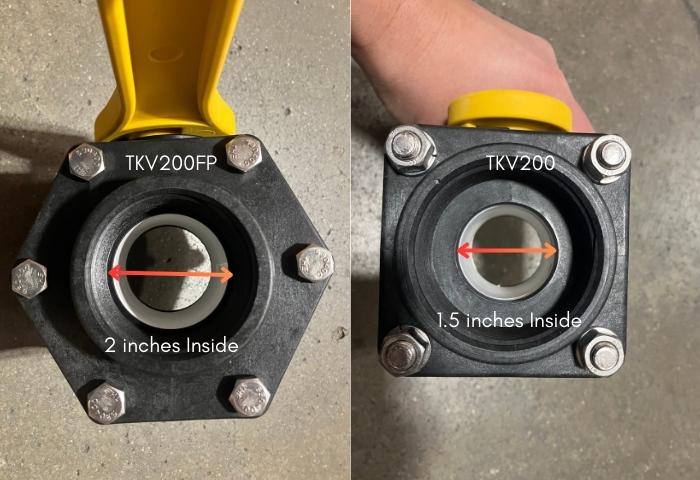
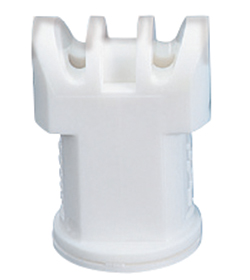
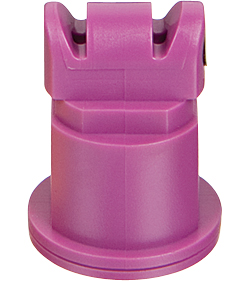
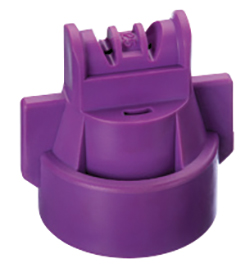
Full Port Fittings: Why Inside Diameter Matters
The answer is to be picky when choosing your plumbing components. When choosing valves, fittings, and other components, look for "full port" options. Full port fittings maintain the advertised inside diameter throughout the fluid path. For instance, a standard 2-inch valve might have a 1.5-inch fluid path, whereas a 2-inch full port valve provides the full 2-inch ID, eliminating unnecessary restrictions.
- Example: TKV200 is a two-inch Banjo valve. It has two-inch female threaded ports but the inside diameter fluid path only measures 1.5 inches. Compare this to another Banjo TKV200FP, another “two-inch” valve, but it has an inside fluid path that measures two inches in diameter:
Avoid Pump Cavitation with Proper Sizing
Maintaining a consistent port size throughout is not just about flow rate. It is also critical to keep your fluid path on the suction side of the pump at least the same size as your pump inlet. If your suction hose is smaller than the pump inlet, it can lead to pump cavitation—a condition where the pump is starved of fluid, leading to damage and eventual failure. A 2-inch pump should be fed with at least 2-inch inside diameter plumbing, a 3-inch pump with 3-inch, and so on.
As mentioned above, this includes all of your valves, hose, fittings, etc. One thing that may get overlooked is the tank outlet. Many tanks have a 2-inch bulkhead fitting, and this is not large enough for a 3-inch pump. Although it is one small portion of the overall plumbing, it is a major “choke” point. You can add larger fittings to a tank if the outlet is not as large as your pump inlet.
Nurse Trailer Hose & Hose Reels
The job of your hose is simple, but just as with your tanks and pumps, you need to remember some key factors. First, it is vital that you use a suction hose from the tank to the pump. Transfer pumps will create a vacuum that can collapse normal rubber hoses.
Reinforced suction hoses such as Kanaflex or Tigerflex hoses are ideal because they are constructed to be flexible and work with a variety of liquids such as fertilizers for agrochemicals. This hose should also be used on the discharge side of the pump as well because it is lightweight but will not kink.
Selecting the Best Hose Material
For handling agrochemicals and fertilizers, EPDM rubber or poly hoses are excellent choices. EPDM suction and discharge hoses are particularly valued for their flexibility and resistance to UV degradation, making them ideal for outdoor use.
Suction & Discharge Hoses for Tender Trailers:
Simplify Hose Management with Reels
Keeping your hose on a reel will not only make it easier and more convenient to handle, but it will also extend the life of the hose not to mention reduce the tripping hazard. There are so many reel options, but for 2 and 3-inch suction hoses, the best bang for the buck is the FS Super Reel. This reel has a 12V motor for automatic rewind. It also has an optional remote to run the reel making it much easier for one person to operate.
If you’re using a hose reel, consider installing an air inlet to blow out the line after use. This removes any remaining product, reduces hose weight, and helps prevent spills or the need for additional clean-up.

FS Super Reel
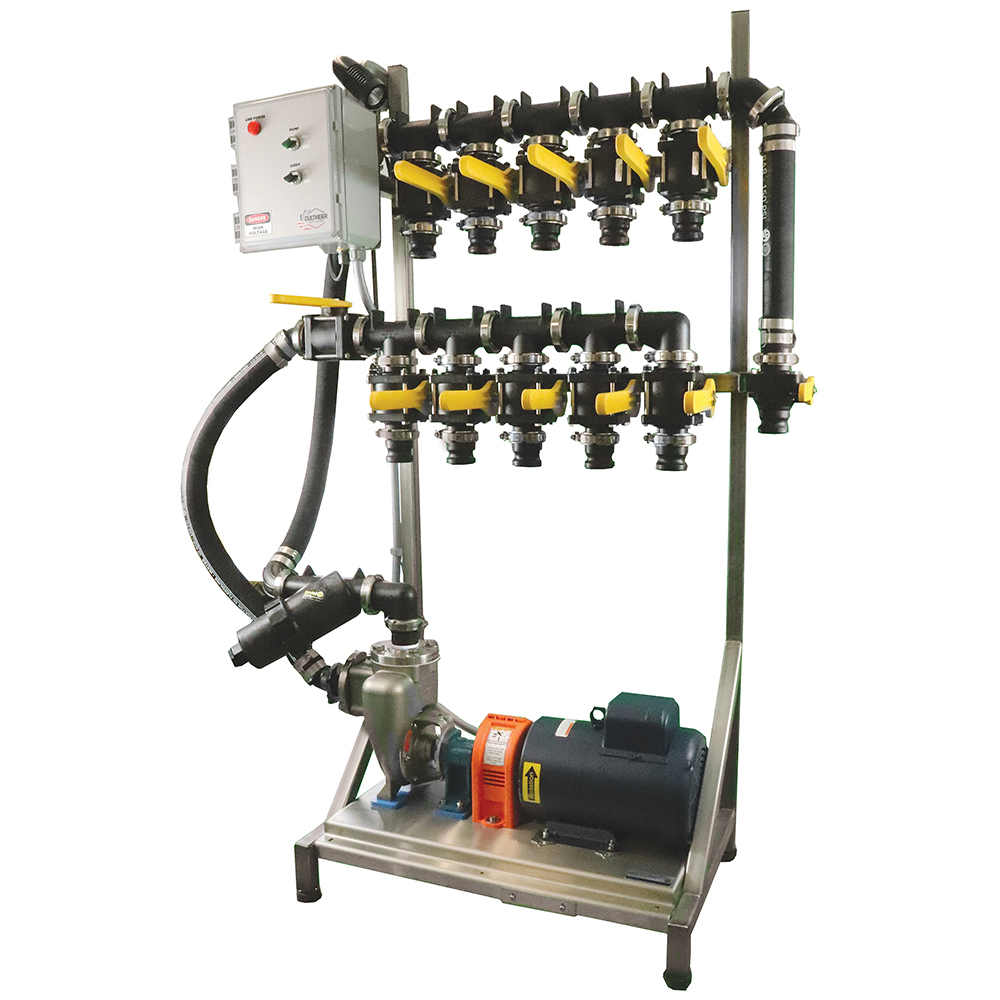
Chemical Mixing Systems
The purpose of your tender trailer is to mix your chemicals and water for your sprayer batches. There are several different systems designed to make measuring chemicals, more efficient, accurate, and safer.
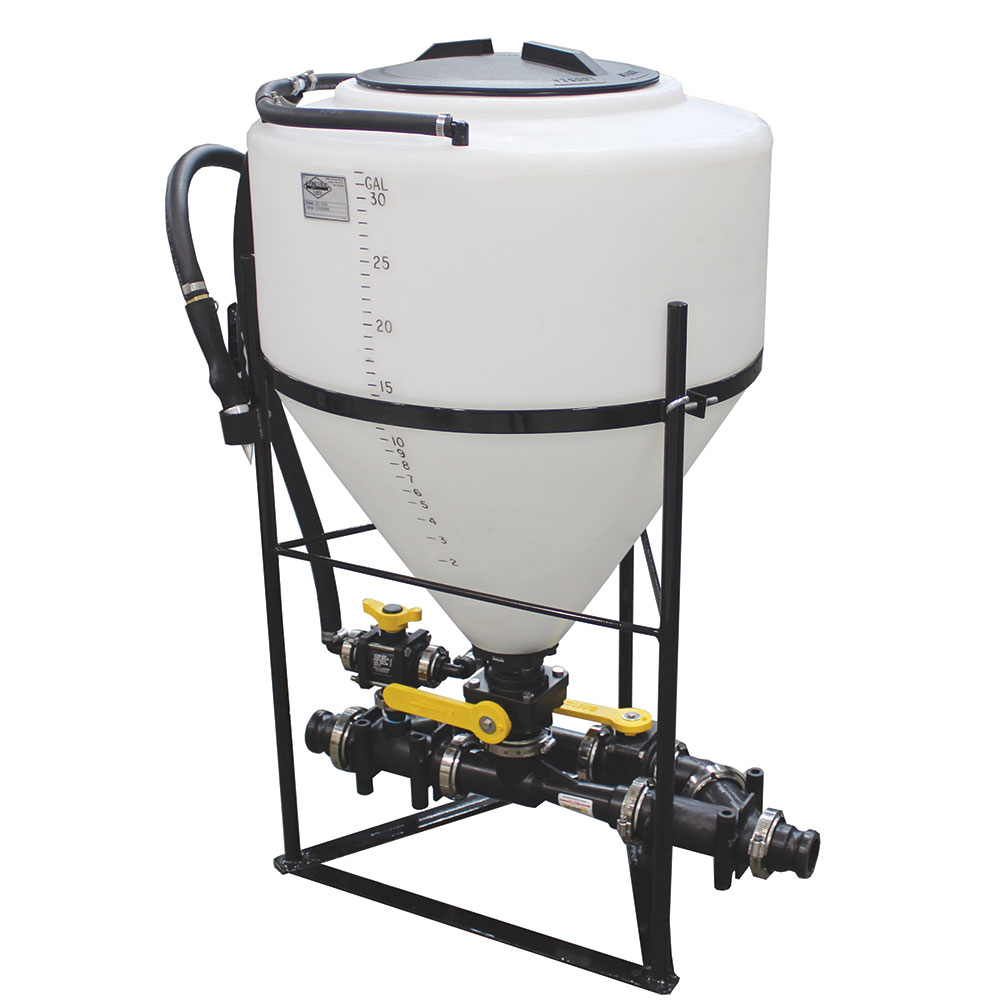
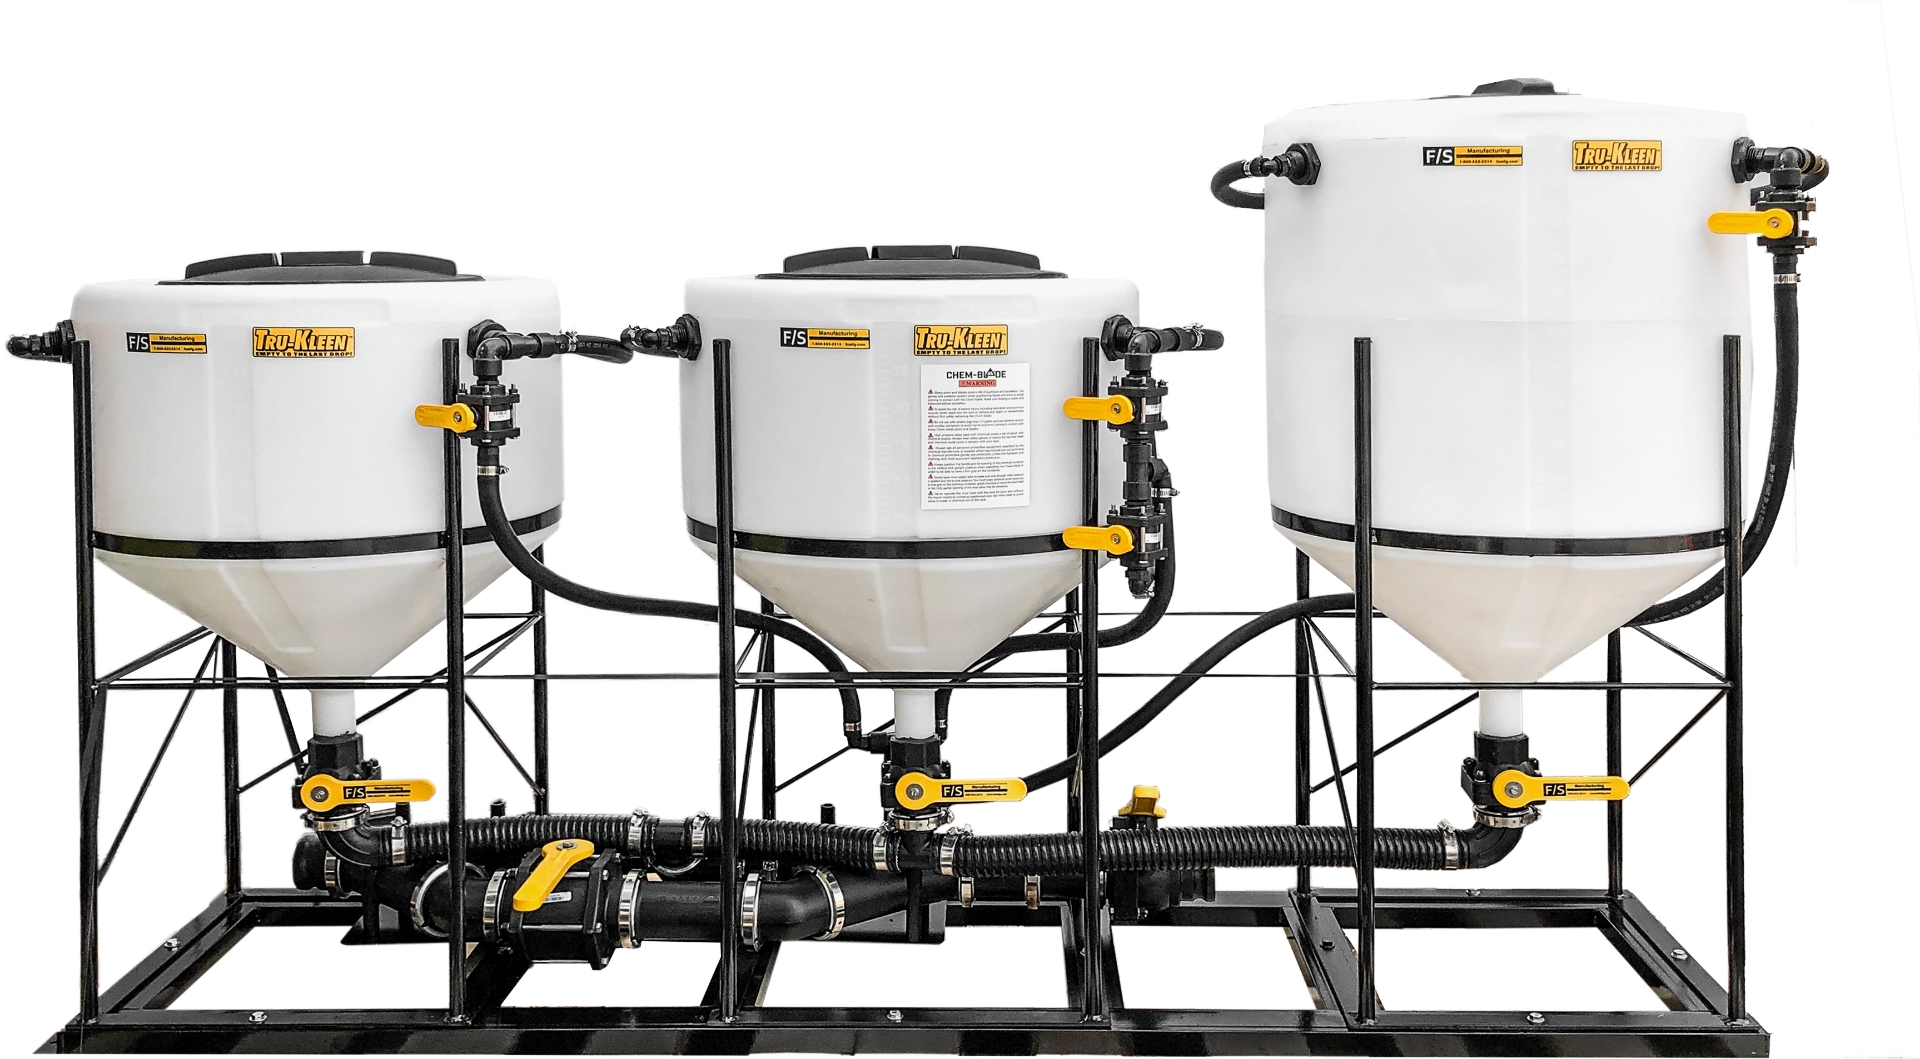
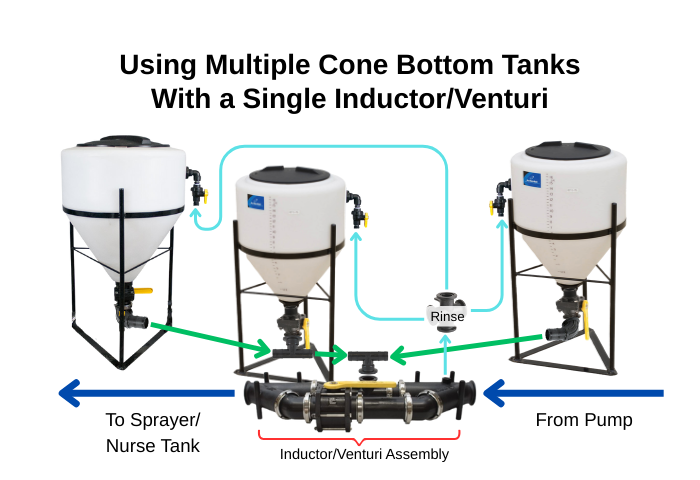
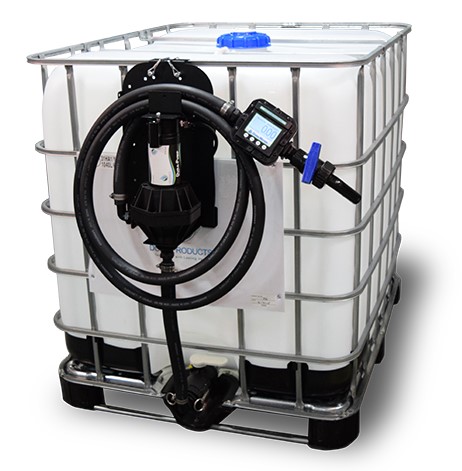
Cone Bottom Inductor Tanks
These systems range in features and complexity. The simplest option is to use a cone bottom inductor tank to add your chemicals. Using a 12V pump with a hose-end meter to transfer each product from the chemical shuttle measure them into your tank. The contents of the inductor tank get pulled into your carrier line either from the pump suction or the suction created from a venturi. If you are not familiar with inductor tanks with a venturi, then be sure to read our complete chemical inductor guide.
Cone bottom inductor tanks are commonly 15-110 gallons and have a lot of different options. A Chem-Blade rinse system is a stainless blade that fits inside the inductor tank. It allows you to quickly slice jugs open and rinse them out completely. This is a much faster way to add jugs of chemicals and helps avoid spills while pouring.
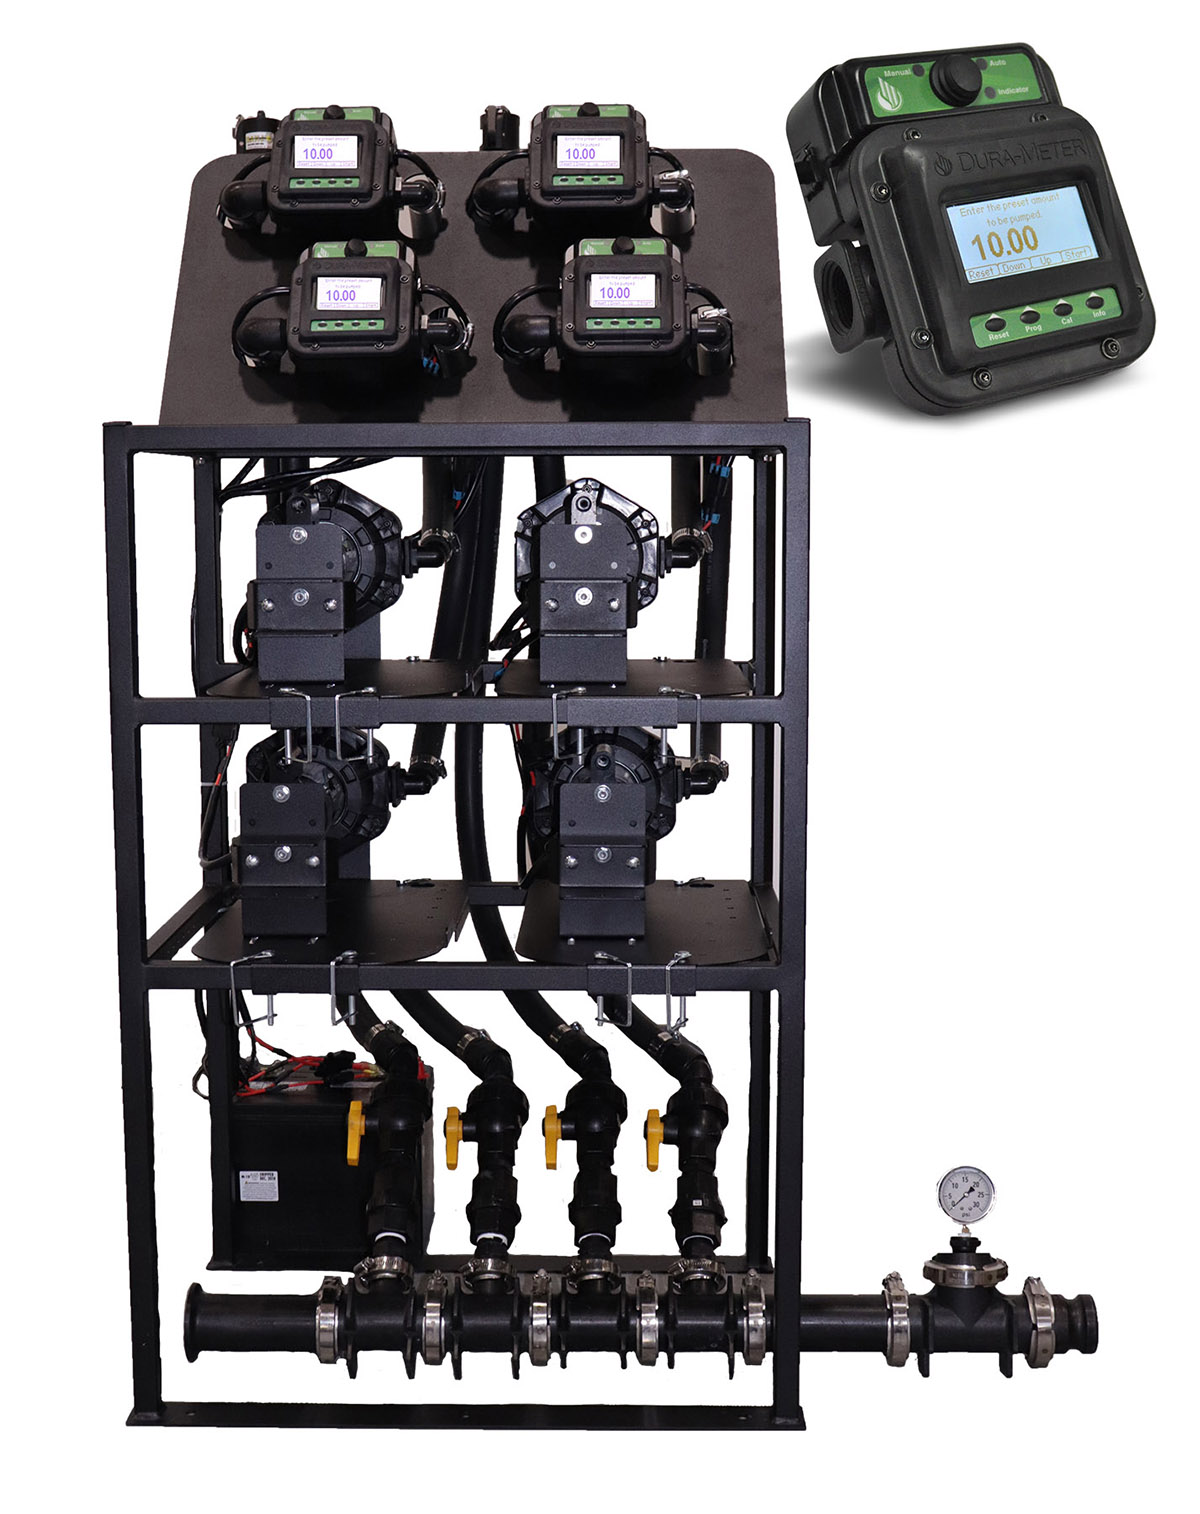
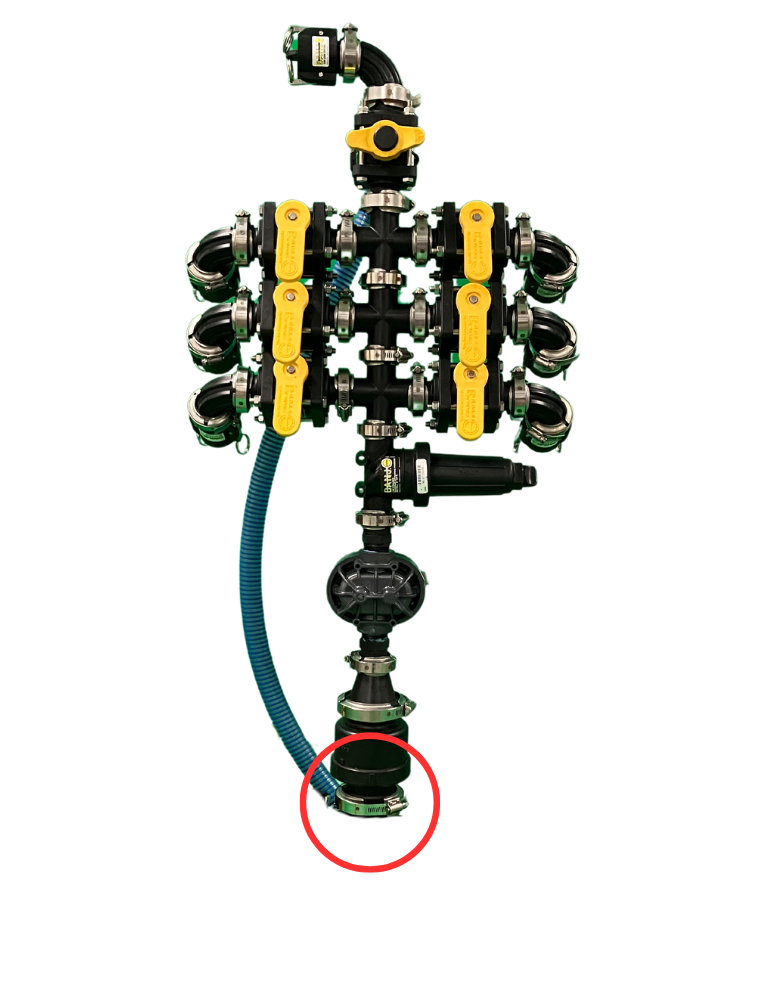
Dultmeier Quick Chem-Mix System
If you want to avoid 12 pumps, this can be done with the Dultmeier Quick Chem-Mix system. This system allows you to make up to six different chemicals with just a single meter and no 12V pumps. Just a single transfer pump.
This works similarly to a cone bottom inductor tank, the suction from your transfer pump or venturi assembly pulls chemicals from each mini-bulk tank. Instead of a cone bottom tank on top of the inductor/venturi assembly, you have a manifold with several one-inch valves.
You manually open a ball valve and meter one chemical at a time through an oval gear meter. This meter does not require calibration for each separate chemical. You can find more detailed information in this guide on setting up the Quick Chem-Mix system.
Quick Chem-MIx
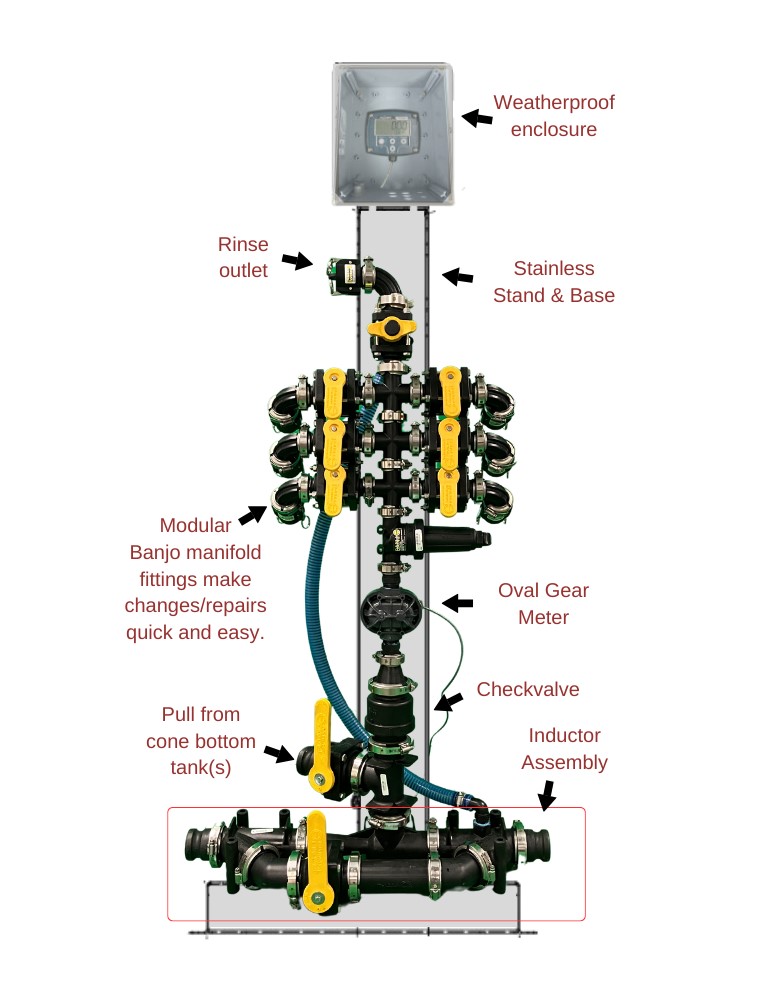
Dura Auto-Batch Direct Injection System
If you want a system that offers more automation, the Dura Auto Batch Direct Injection system is designed to automatically inject herbicides directly into the sprayer carrier during the tank filling process. It utilizes the Dura Auto-Batch meters to control the pumps. You simply set your desired amount of chemical on the meter and when the amount is reached the pump is shut off.
You can all of your chemicals at one time, speeding up your process considerably. Dura’s research shows that you can reduce your sprayer fill time by 68 percent! You can take a look at the full system here.

Dura Auto-Batch Direct Inject
Key Takeaways
- Not just volume: Tank shape and features are important to consider as well
- Plumbing affects flow rate not just your pump size
- Consistent, full port plumbing to maximize flow
- Wet seal pumps protect against "run" dry scenario
- Hose reels keep your trailer organized and safer
- There are many chemical mixing options no matter your budget
Selecting the right components for your sprayer tender trailer is all about understanding your operational needs and building a system that delivers efficiency and reliability. By focusing on the right pump, tanks, hose reels, and additional components, you can create a trailer that keeps you spraying longer with less downtime.
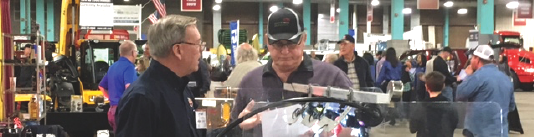
Need help with your setup? Reach out for expert advice on choosing the perfect components for your tender trailer!


 Pump Selection Guide")